CDM Woodworking presents Re-Trim™, the new patent pending product line that lets contractors and DIYers transform the standard molding in most homes into quality custom molding with any design you want. Improve a single room or an entire house at an affordable rate with Re-Trim™. Our business loves the quality of this molding and the results.

Update the look of your project with Re-Trim™
The Re-Trim™ base extension is specifically designed to easily fit over a 3" colonial wood baseboard, one of the most popular profiles used in homes, and a standard stock molding sold at large home improvement retailers. The molding is paint grade and provides homeowners with a beautiful high-quality design.
When installed with our specially designed Re-Trim™ casing extension, the Re-Trim™ System creates a higher-end, more modern look by increasing the molding size. The design and assembly of the molding is straightforward to provide easy, quality work.
The Re-Trim™ system eliminates the need to remove the already installed molding, saving time and money on the job and reducing additional wood waste in landfills. You can get excellent-looking quality custom molding with our team.
Talk to Us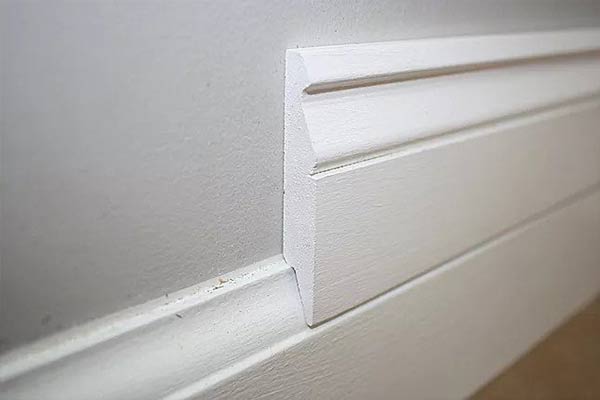
Integrates with Standard Molding
Easy-to-install pieces let anyone upgrade without removing the existing trim, saving time and money on projects.
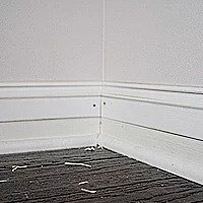
Re-Trim™ is designed to improve the look of any room with a standard 3" colonial baseboard and 2-1/4" colonial casing from large home improvement retailers.
Re-Trim™ is Easy to Install
The entire Re-Trim™ product line has been designed to be easy to install. All you will need are some basic tools and some time to upgrade the look of most homes. You will need the following:
Tape Measure

Nail Gun
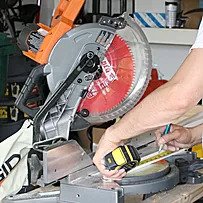
Miter Saw

Multi-Tool

Caulk Gun
Re-Trim™ Installation Process
Step 1:
Cut & install the base extension. Be sure to nail into the studs.
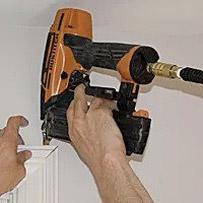
Step 2:
Install the casing extension around windows & doors. Nail into the existing casing.
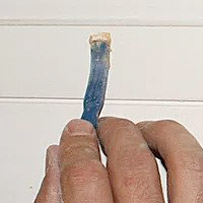
Step 3:
Fill all the nail holes along the Re-Trim™ installation.
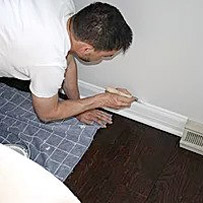
Step 4:
Caulk all edges along the Re-Trim™ installation.
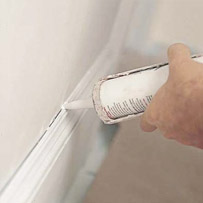
Step 5:
Paint newly installed Re-Trim™ to match existing molding.